This robot system is focused on a few different aspects from education on robotics, electronics, and programming. The system provides modular robotics hardware that can be separated on a modular education blocks. The robot system covers:
- Mechanical part that helps youngsters understand how to build the robot and assemble the robotic parts together.
- Modular electronics that is extendable of various parts.
- Modular software that is open source and easy to rewrite.
In this section, we will describe, through a schematic diagram, how the electrical connections of the robot are made.

- Go to the main branch.
- Click first on Clone or Download > Download ZIP.
- Unzip it and place it in Arduino Libraries folder.
Windows users:
Documents > Arduino > libraries
- Reopen Arduino IDE and you should have the library examples in:
File > Examples > OpenMOBot
Linux users:
- Create content.
MAC users:
- Create content.
In this particular section, we will describe the examples that are provided by this library.
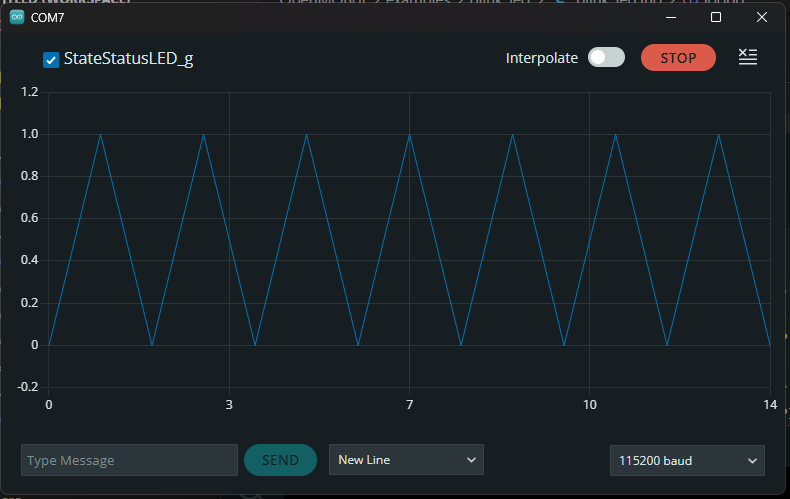
This example is just blinking the built-in LED. It aims to prepare you and motivate you with fast results, while maintaining maximum safety, for the run.
The line sensor example is created to understand and test the line sensor functionalities of the robot. This example also helps the user to double-check if the electrical connections are in check and if they are properly connected. It is typical for this kind of sensors to swap cables and pins. That's why this example is very good for test.

This example simply runs the servo motor of the ultrasonic sensor to see if it works properly or whether it is connected properly.

A second example is provided, but this time it includes the ultrasonic sensor distance information.

After we move our first motor (the servo motor), it is time to move the main motors or engines of our robot. This is the purpose of the current example. Furthermore, it provides good information about the motors/engine position, and distance travelled. This example also provides a test for correctly connected motors and photo encoders.

Great, if you are at this stage of the tests, you have successfully run your motors. As in the previous example, we read the motor position information, but this time we will dive deeper and will read the motor speed information.

Unfortunately, because it is an educational and a 'hobby' robot, this example only runs the left engine with PID regulator. We believe that when you pass through this example, it is time that you to start writing your own code.

As of this date (2023 5-th of November), this is the last example provided. We believe that you as an enthusiast will begin writing your application using our API. After all, it is your turn to show to yourself what you can do with this robot. The example will provide a line following functionality.
If you'd like to contribute to this project, please follow these steps:
- Fork the repository on GitHub.
- Clone your forked repository to your local machine.
- Create a new branch for your changes:
git checkout -b my-new-feature. - Make your modifications and write tests if applicable.
- Commit your changes:
git commit -am 'Add some feature'. - Push the branch to your forked repository:
git push origin my-new-feature. - Create a pull request on the main repository.
We appreciate your contributions!
This project is licensed under the MIT License. See the MIT file for more details.