Self hosted application to access IMAP and SMTP accounts over REST. Integrate email accounts with your service with ease!
Public IMAP API is licensed under AGPL. Alternative MIT-licensed version of IMAP API is available for Postal Systems subscribers. You can install it as @postalsys/imapapi from the Postal Systems private registry.
$ npm install -g @postalsys/imapapi
$ imapapi
- Syncing users' emails into your service and sending out emails on behalf of your users (helpdesk software etc.)
- Email applications (lightweight webmail and mobile apps etc. that do not want to process IMAP and MIME)
Make sure you have latest (at least v12.16.0) Node.js installed. Run IMAP API straight from NPM without downloading or installing anything manually:
$ npx imapapi --dbs.redis="redis://127.0.0.1:6379"
or when running using the MIT licensed version from Postal Systems
$ npx -p @postalsys/imapapi imapapi --dbs.redis="redis://127.0.0.1:6379"
Next open http://127.0.0.1:3000/ in your browser for Web UI and documentation.
- IMAP API allows simple access to IMAP accounts via REST based API. No need to know IMAP or MIME internals, you get a "normal" API with paged message listings. All text (that is subjects, email addresses, text and html content etc) is utf-8. Attachments are automatically decoded to binary representation.
- Partial text download. You can obviously download the entire rfc822 formatted raw message but it might be easier to use provided paging and message details. This also allows to specifiy maximum size for downloaded text content. Sometimes automated cron scripts etc send emails with 10+MB text so to avoid downloading that stuff IMAP API allows to set max cap size for text.
- Whenever something happens on tracked accounts IMAP API posts notification over a webhook. This includes new messages, deleted messages and message flag changes.
- No data ever leaves your system
- Easy email sending. If you specify the message you are responding to or forwarding then IMAP API sets all required headers, updates references message's flags in IMAP and also uploads message to the Sent Mail folder after sending.
- IMAP API is a rather thin wrapper over IMAP. This means it does not have a storage of its own. It also means that if the IMAP connection is currently not open, you get a gateway error as a result of your API request.
- IMAP API keeps a single persistent IMAP connection open against every registered user account. To stop syncing you must remove the account from IMAP API. This is different from some webmail implementations where connections are kept open during user session only.
- Redis – any version
- Node.js - v12.16.0 or newer
Install dependencies
$ npm install --production
Run using default settings
$ node server.js
Or use custom Redis connection URL
$ node server.js --dbs.redis="redis://127.0.0.1:6379"
Once application is started open http://127.0.0.1:3000/ for instructions and API documentation.
1. General overview

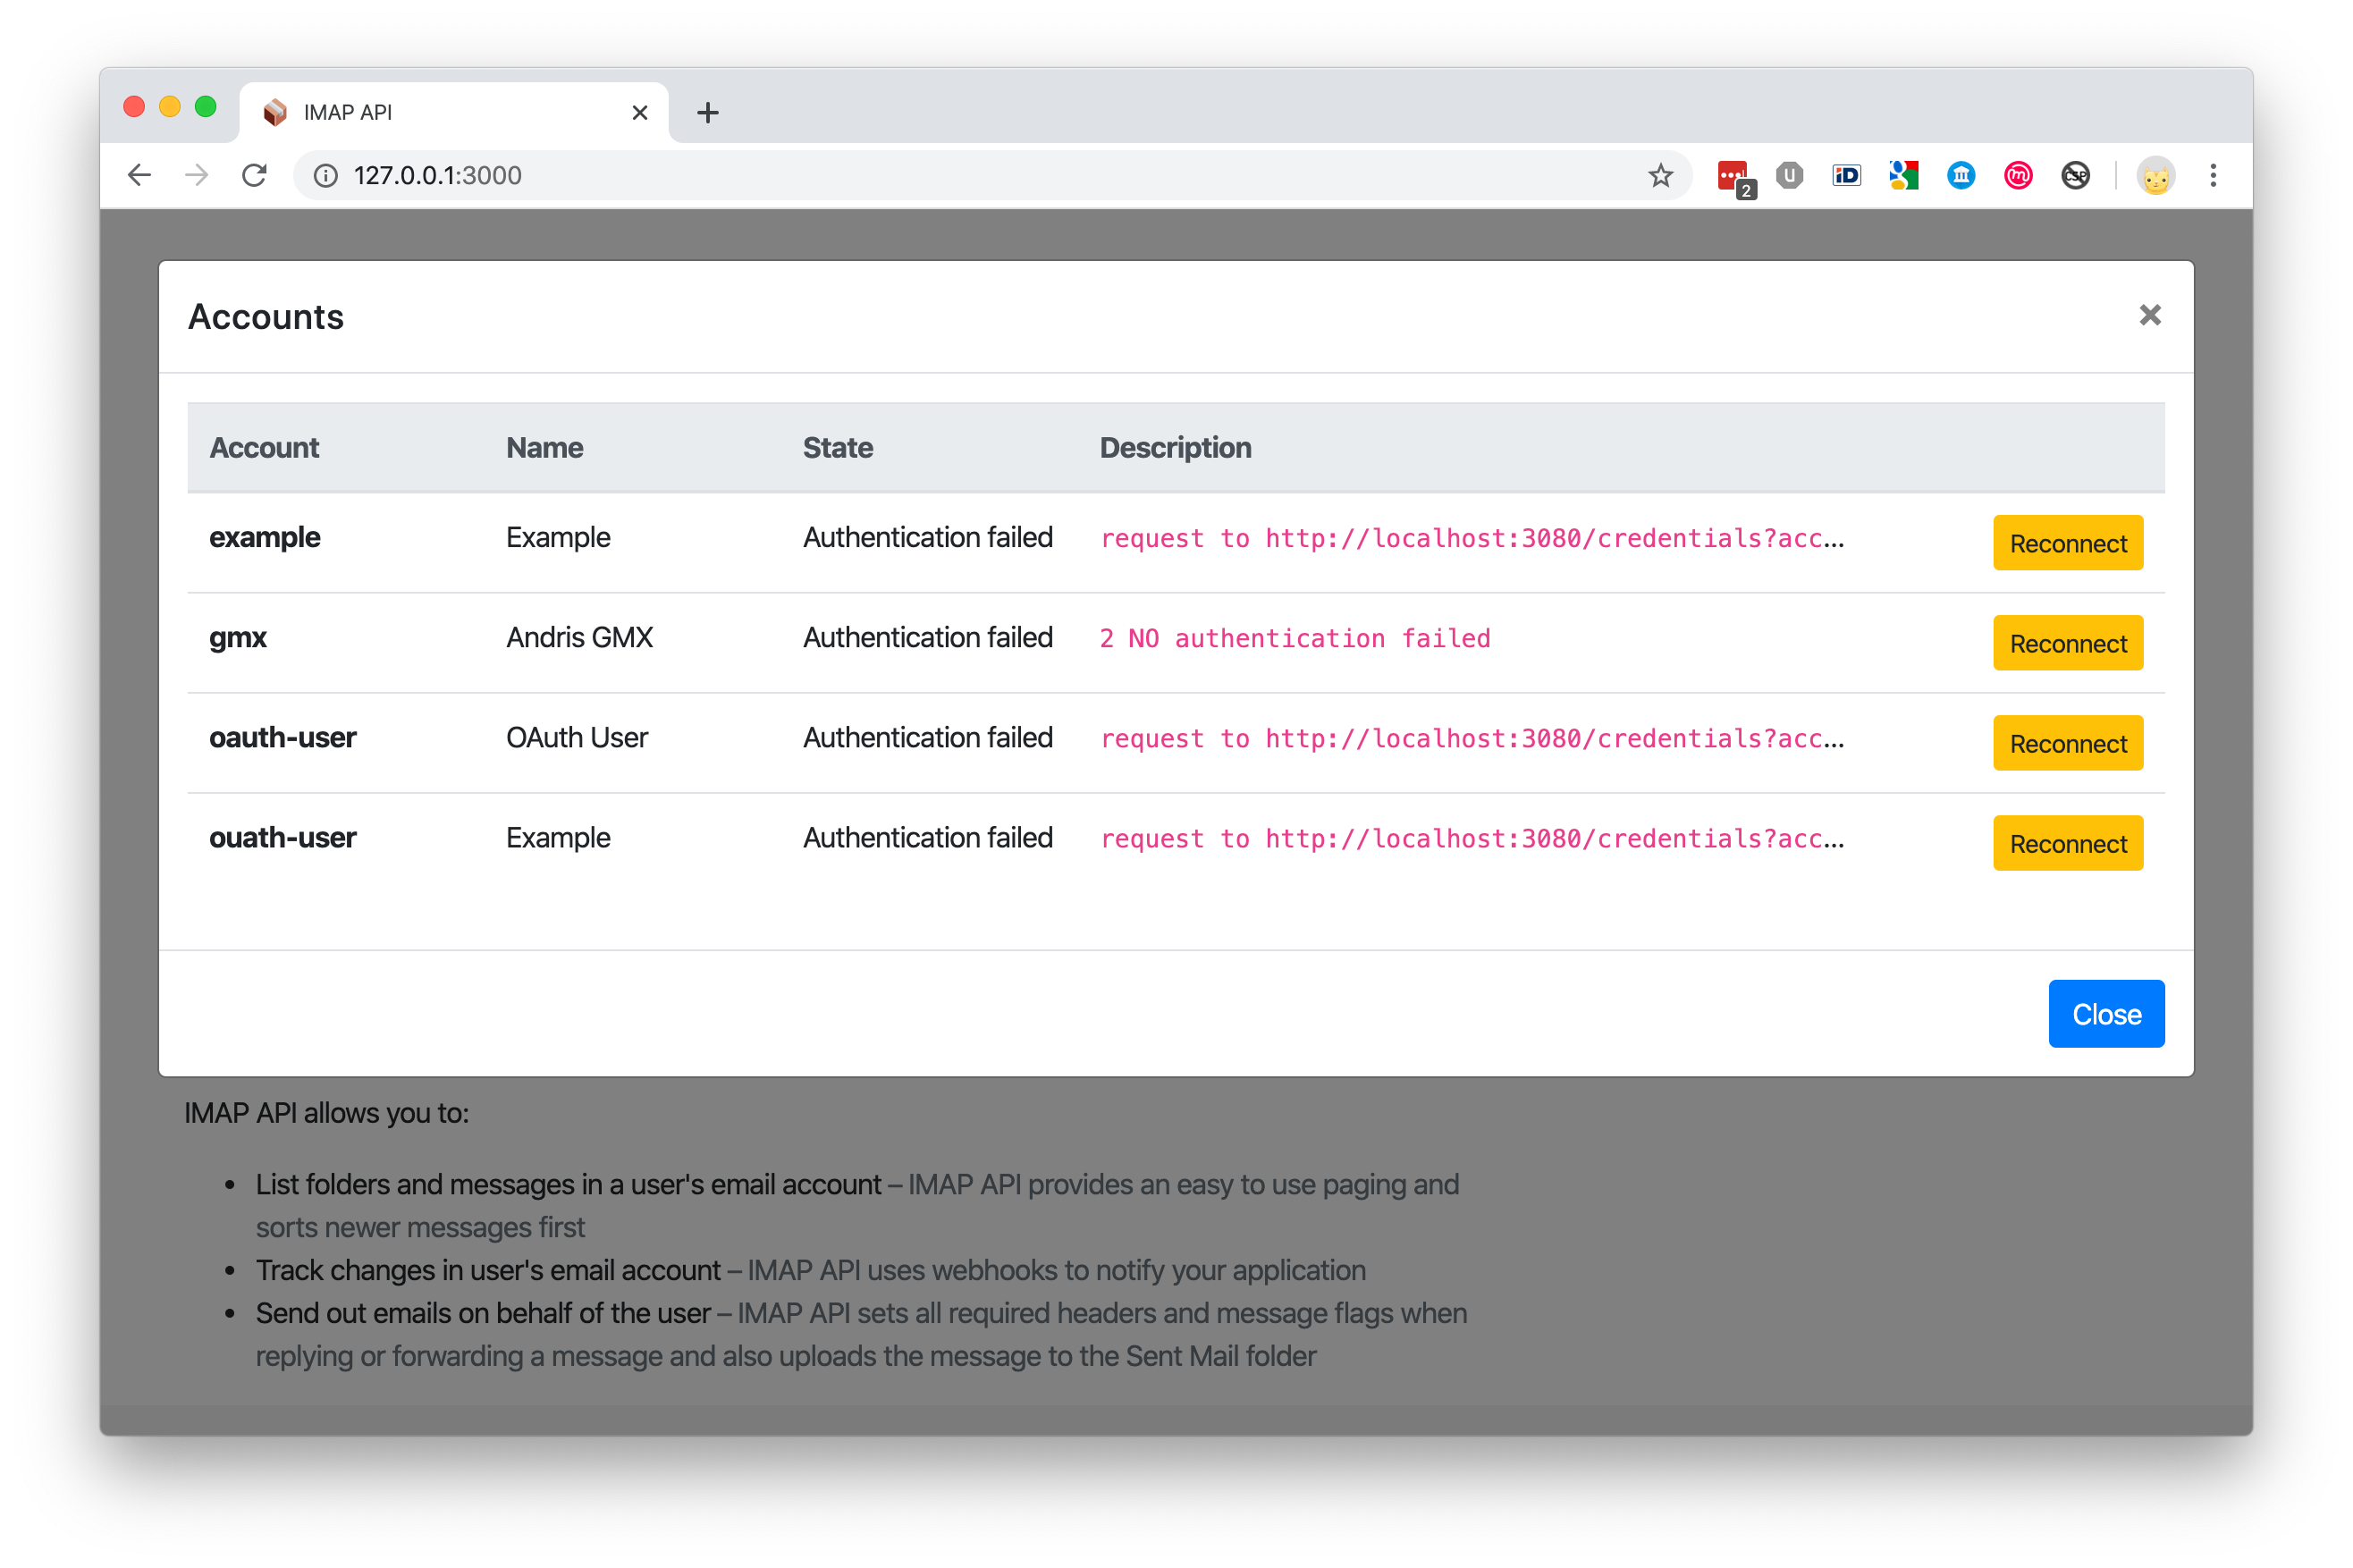
2. Account states
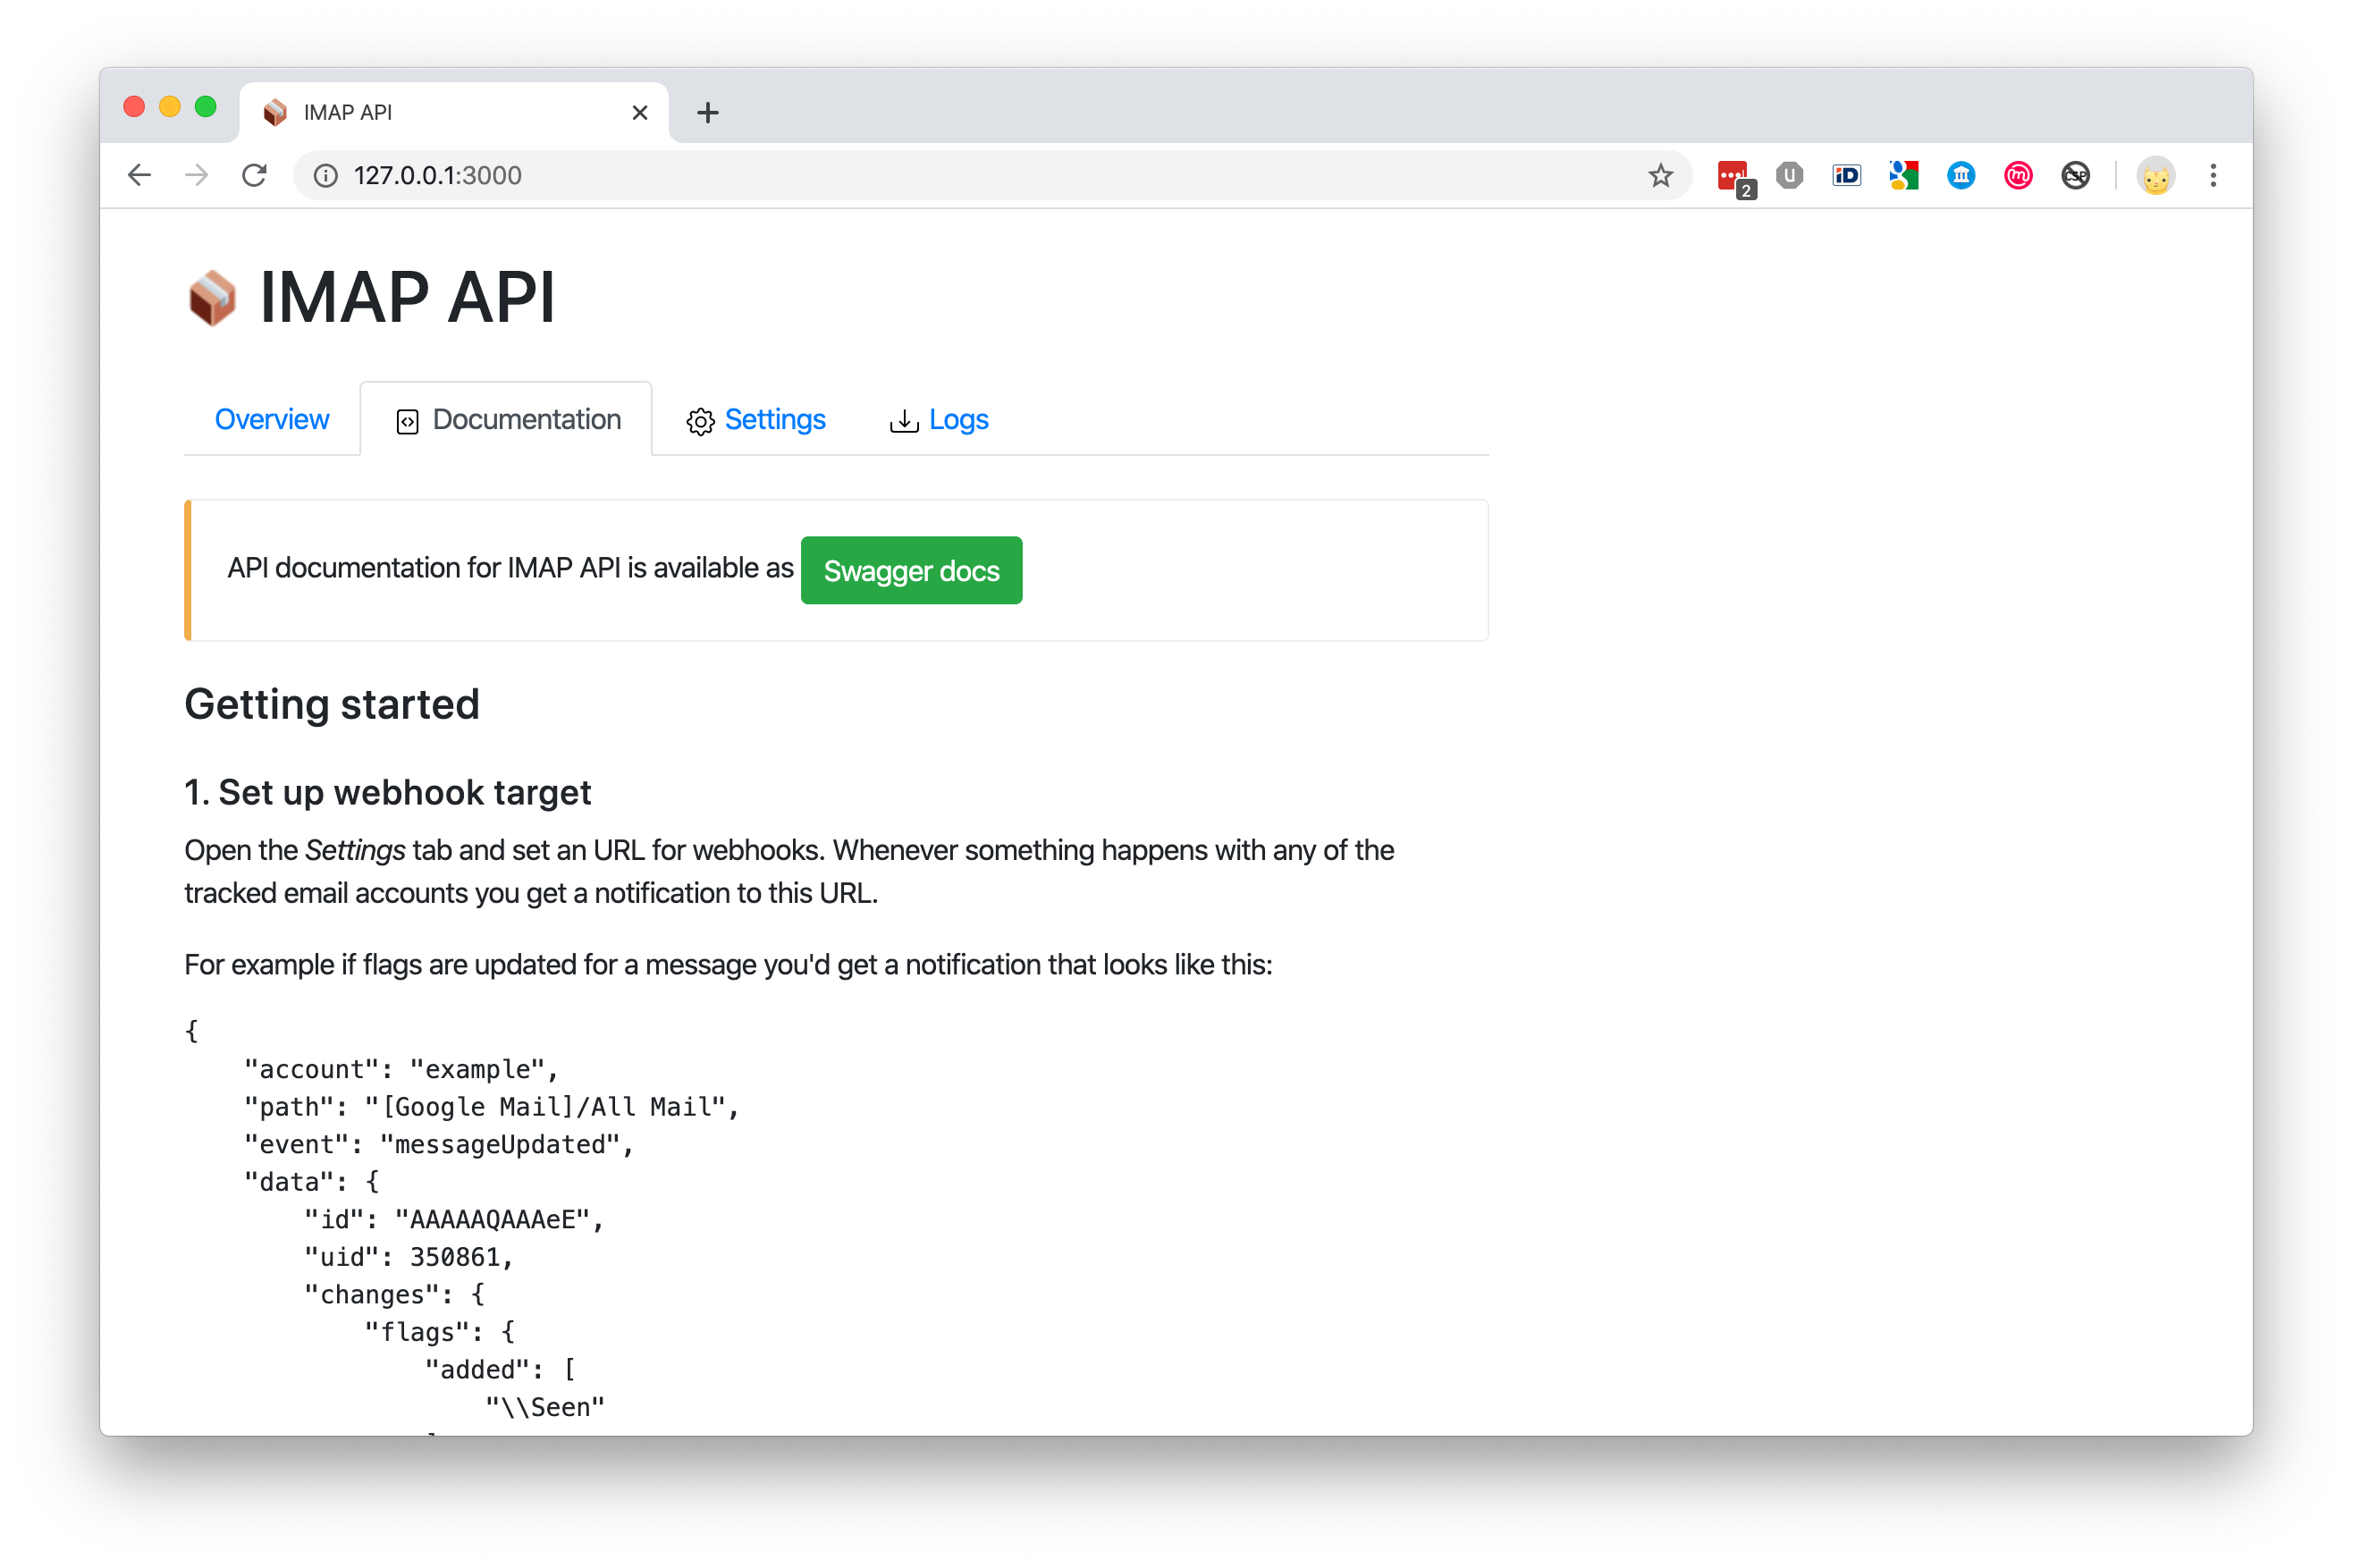
3. Documentation
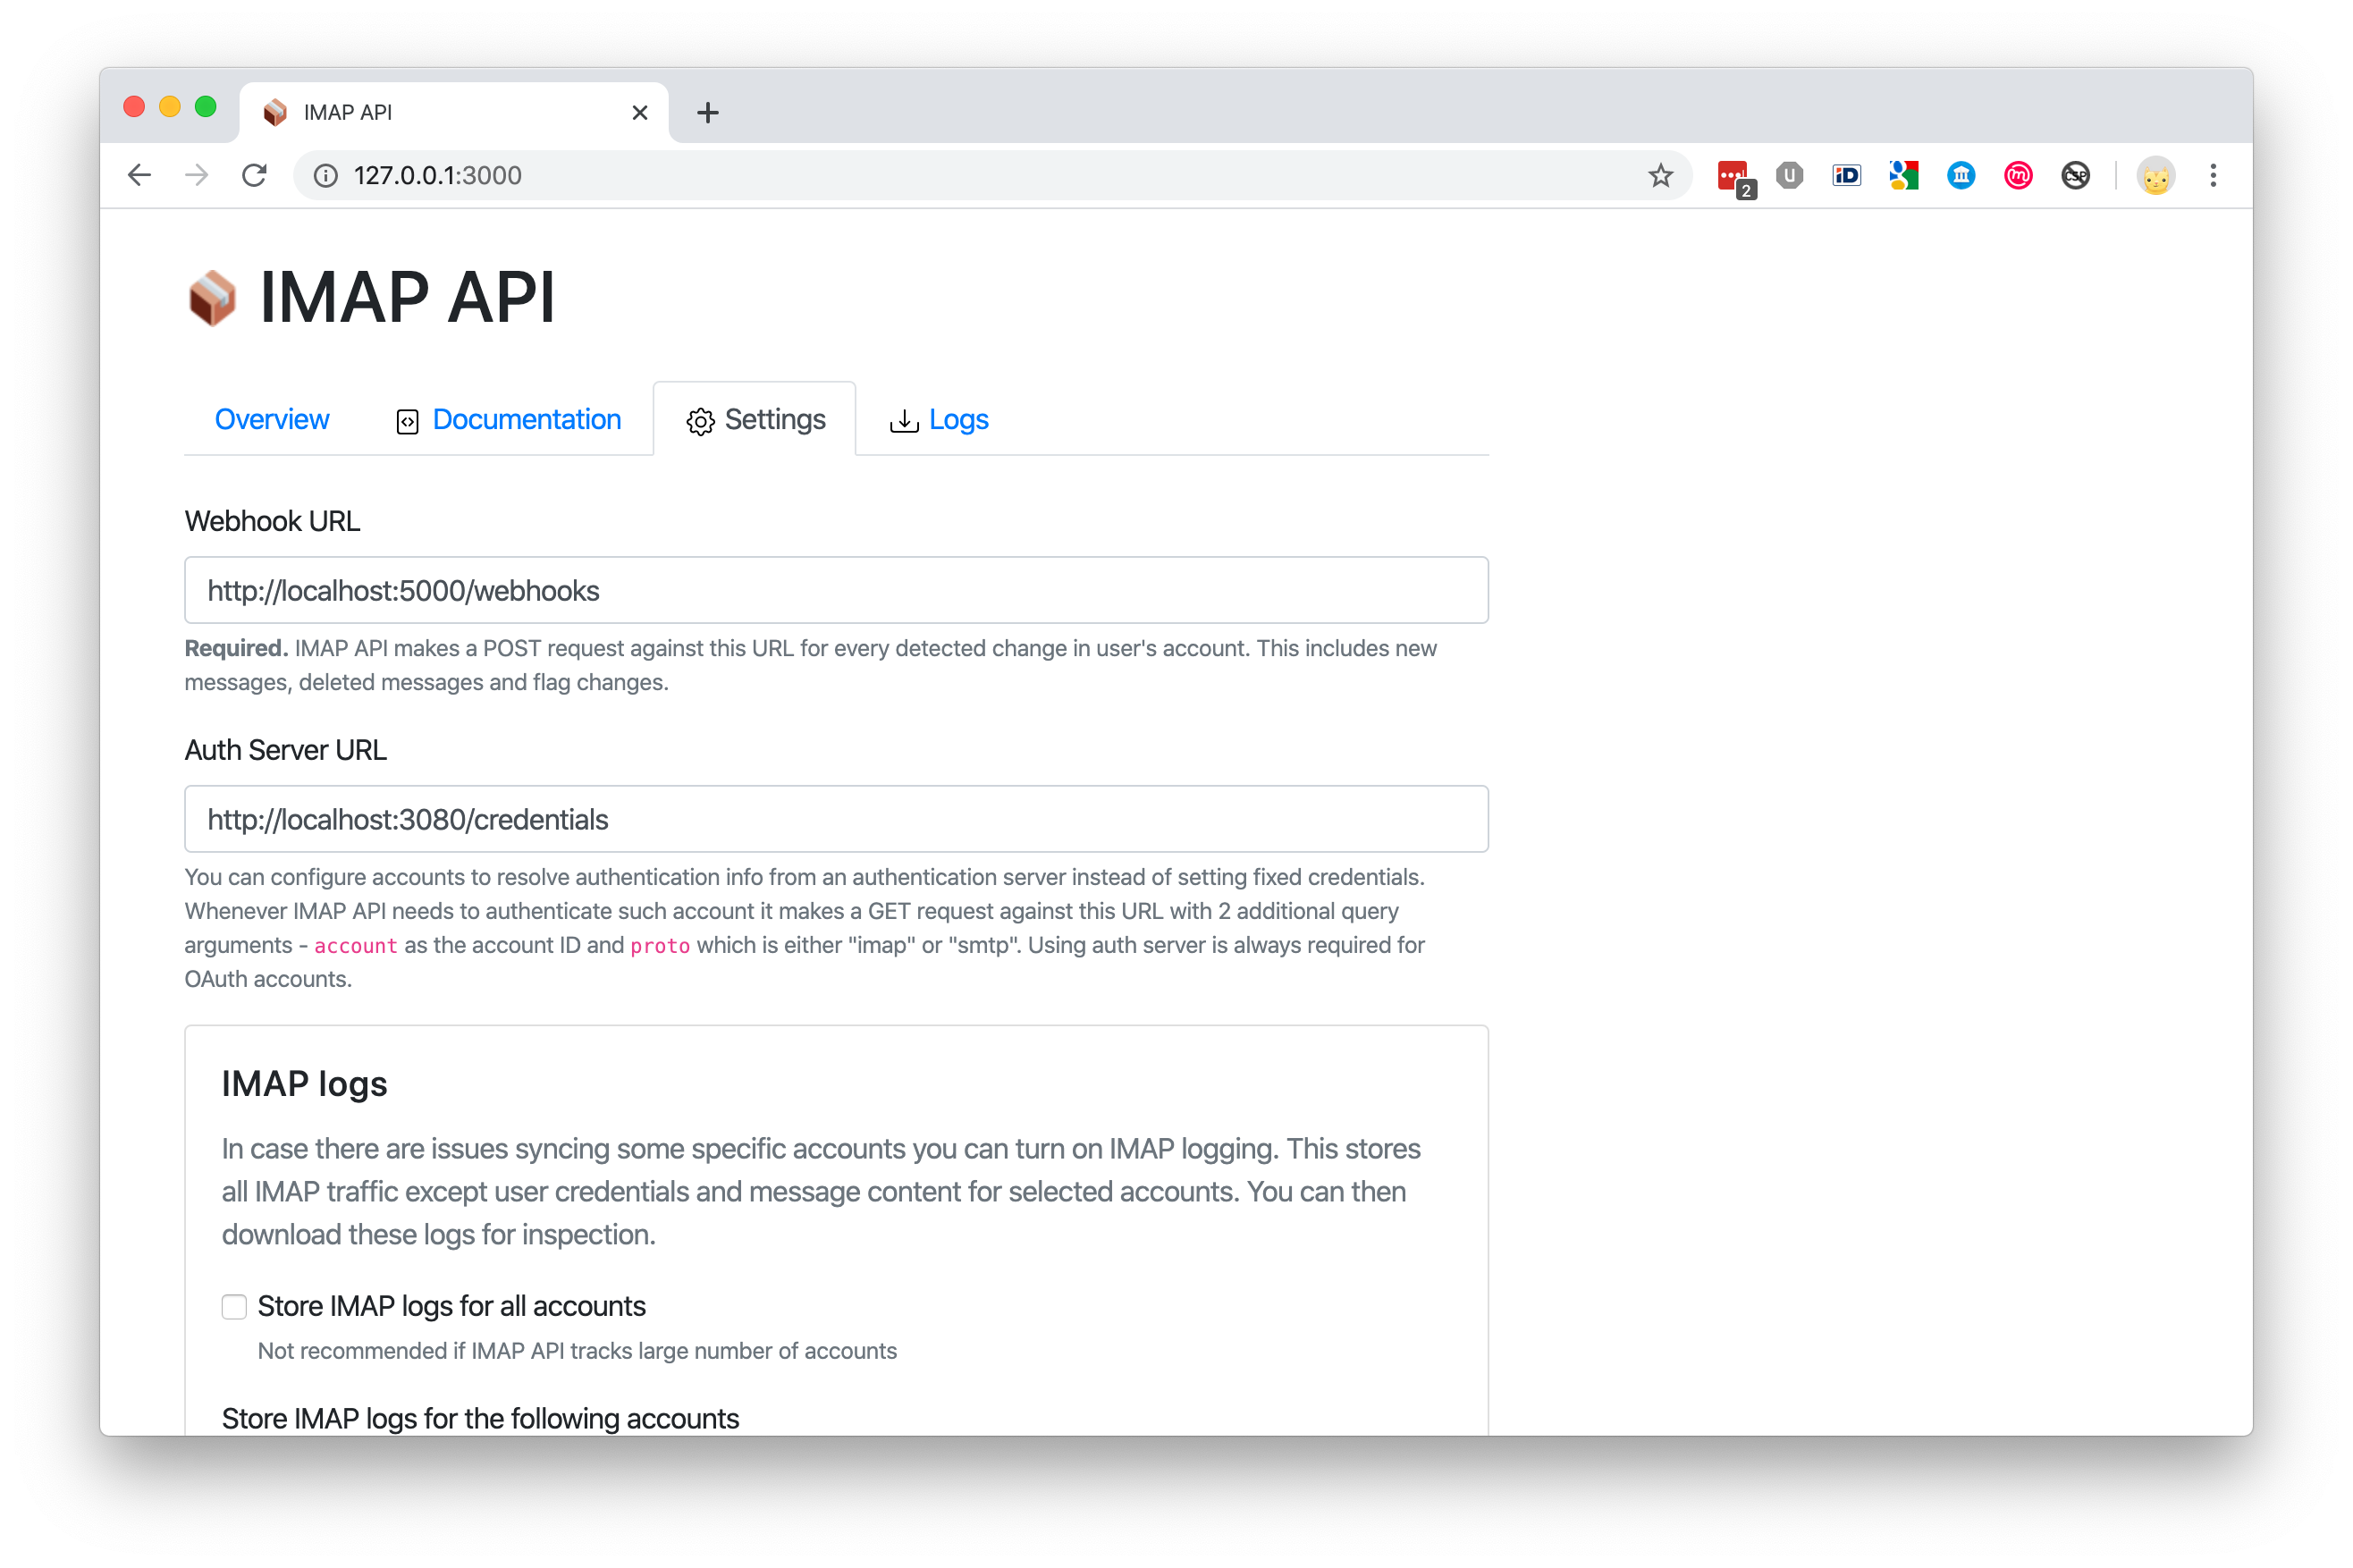
4. Settings
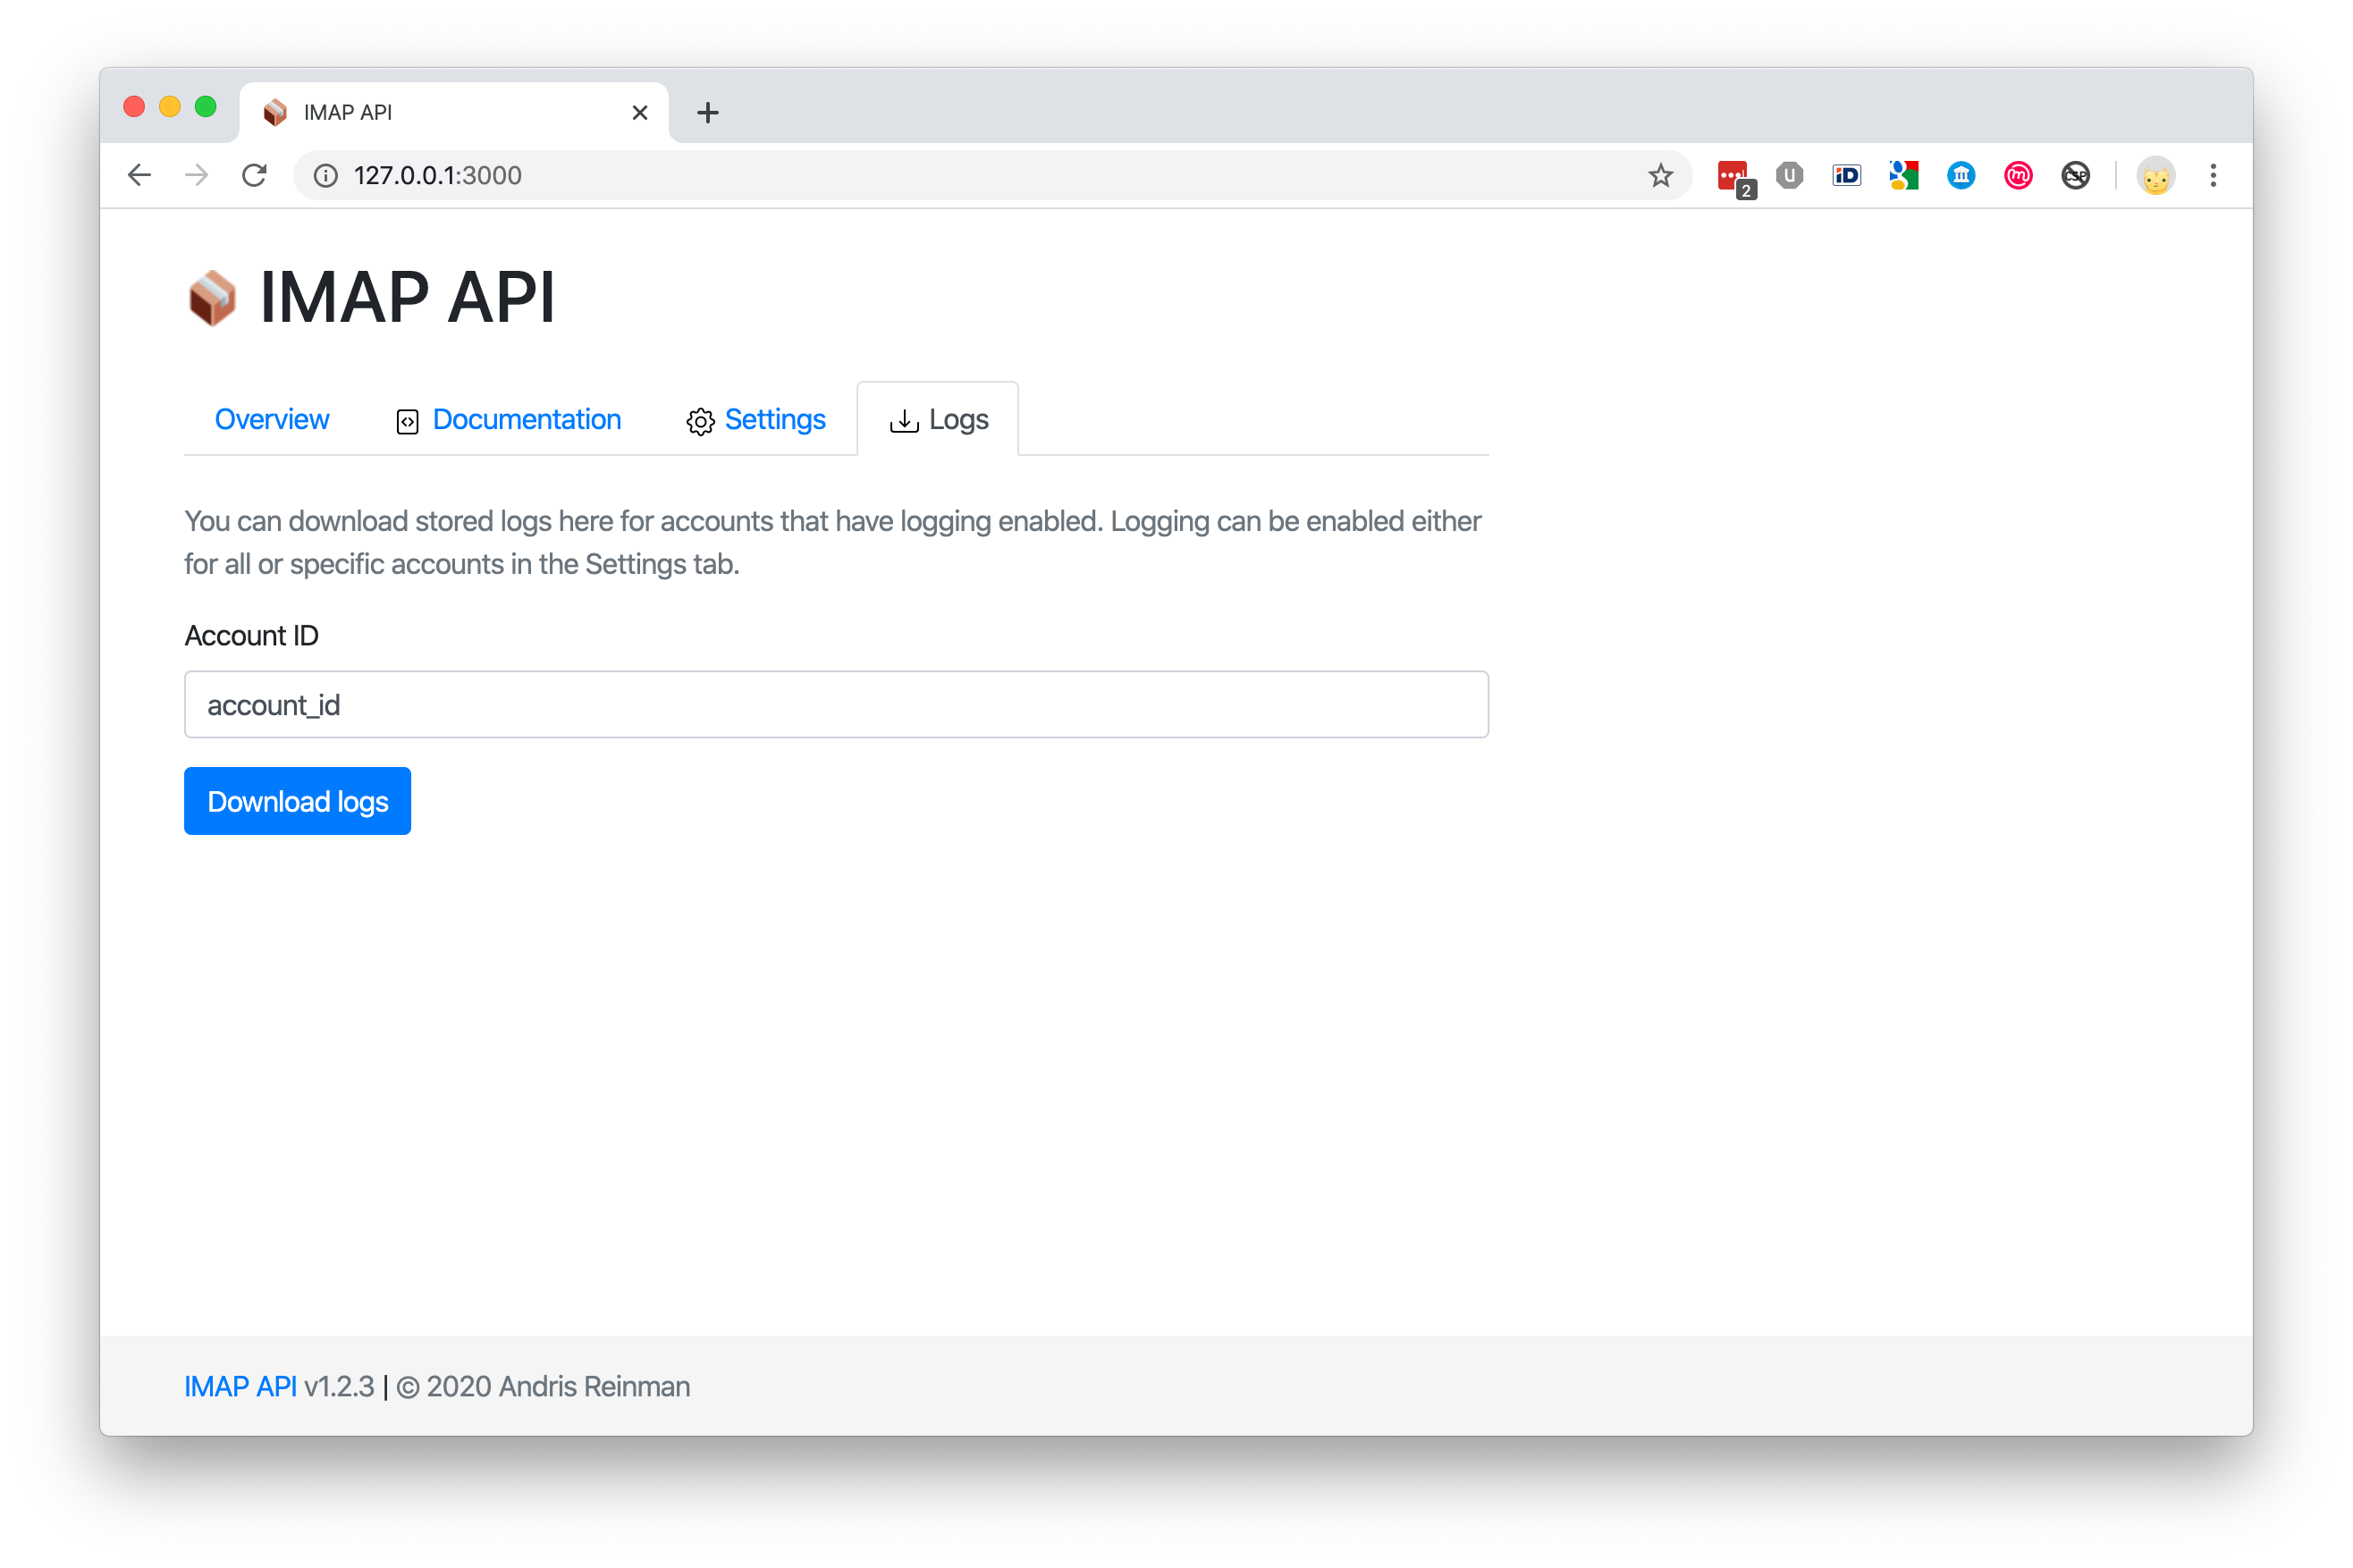
5. Download stored logs
6. Swagger
| Configuration option | CLI argument | ENV value | Default |
|---|---|---|---|
| Redis connection URL | --dbs.redis="url" |
REDIS_URL="url" |
"redis://127.0.0.1:6379/8" |
| Host to bind to | --api.host="1.2.3.4" |
API_HOST="1.2.3.4" |
"127.0.0.1" |
| Port to bind to | --api.port=port |
API_PORT=port |
3000 |
| Log level | --log.level="level" |
LOG_LEVEL=level |
"trace" |
NB! environment variables override CLI arguments. CLI arguments override configuration file values.
If available then IMAP API uses dotenv file from project root to populate environment variables.
Open the Settings tab and set an URL for webhooks. Whenever something happens with any of the tracked email accounts you get a notification to this URL.
For example if flags are updated for a message you'd get a notification that looks like this:
{
    "account": "example",
    "path": "[Google Mail]/All Mail",
    "event": "messageUpdated",
    "data": {
        "id": "AAAAAQAAAeE",
        "uid": 350861,
        "changes": {
            "flags": {
                "added": ["\\Seen"]
            }
        }
    }
}You need IMAP and SMTP settings and also provide some kind of an identification string value for this account. You can use the same IDs as your main system or generate some unique ones. This value is later needed to identify this account and to perform operations on it.
NB! Trying to create a new account with the same ID updates the existing account.
$ curl -XPOST "localhost:3000/v1/account" -H "content-type: application/json" -d '{
    "account": "example",
    "name": "My Example Account",
    "imap": {
        "host": "imap.gmail.com",
        "port": 993,
        "secure": true,
        "auth": {
            "user": "[email protected]",
            "pass": "verysecret"
        }
    },
    "smtp": {
        "host": "smtp.gmail.com",
        "port": 465,
        "secure": true,
        "auth": {
            "user": "[email protected]",
            "pass": "verysecret"
        }
    }
}'
Now whenever something happens you get a notification. If this is not enought then you can perform normal operations with the IMAP account as well.
IMAP API returns paged results, newer messages first. So to get the first page or in other words the newest messages in a mailbox folder you can do it like this (notice the "example" id string that we set earlier in the request URL):
$ curl -XGET "localhost:3000/v1/account/example/messages?path=INBOX"
In the response you should see a listing of messages.
{
    "page": 0,
    "pages": 10,
    "messages": [
        {
            "id": "AAAAAQAAAeE",
            "uid": 481,
            "date": "2019-10-07T06:05:23.000Z",
            "size": 4334,
            "subject": "Test message",
            "from": {
                "name": "Peter Põder",
                "address": "[email protected]"
            },
            "to": [
                {
                    "name": "",
                    "address": "[email protected]"
                }
            ],
            "messageId": "<[email protected]>",
            "text": {
                "id": "AAAAAQAAAeGTkaExkaEykA",
                "encodedSize": {
                    "plain": 17,
                    "html": 2135
                }
            }
        }
    ]
}
When fetching next page, add page query argument to the URL. Pages are zero indexes so if the server shows that there are 10 pages in total, it means you can query from page=0 to page=9. If you want longer pages, use pageSize query argument.
$ curl -XGET "localhost:3000/v1/account/example/messages?path=INBOX&page=5"
The following is an example of how to send a reply. In this case you should specify a reference message you are replying to (NB! this message must exist). Use the "id" from message listing as the "reference.message" value.
If referenced message was not found from the IMAP account then API responds with a 404 error and does not send out the reply.
curl -XPOST "localhost:3000/v1/account/example/submit" -H "content-type: application/json" -d '{
    "reference": {
        "message": "AAAAAQAAAeE",
        "action": "reply"
    },
    "from": {
        "name": "Example Sender",
        "address": "[email protected]"
    },
    "to": [{
        "name": "Andris Reinman",
        "address": "[email protected]"
    }],
    "text": "my reply to you",
    "html": "<p>my reply to you</p>",
    "attachments": [
        {
            "filename": "checkmark.png",
            "content": "iVBORw0KGgoAAAANSUhEUgAAABAAAAAQAQMAAAAlPW0iAAAABlBMVEUAAAD///+l2Z/dAAAAM0lEQVR4nGP4/5/h/1+G/58ZDrAz3D/McH8yw83NDDeNGe4Ug9C9zwz3gVLMDA/A6P9/AFGGFyjOXZtQAAAAAElFTkSuQmCC"
        }
    ]
}'
NB! if you are sending a standalone email then you most probably want to set subject value as well. For replies and forwards, IMAP API sets subject itself, based on the referenced message.
When sending a referenced message:
- IMAP API sets correct In-Reply-To and Referenced message headers to the outgoing message
- If subject is not set, then IMAP API derives it from the referenced message and adds Re: or Fwd: prefix to it
- IMAP API sets
\Answeredflag to the referenced message
For all messages:
- IMAP API uploads sent message to Sent Mail folder (if the folder can be detected automatically)
- IMAP API does not upload to Sent Mail folder when the account is Gmail/GSuite as Gmail does this automatically
IMAP API does not manage OAuth2 access tokens, you have to provide these yourself. This means that every time IMAP API needs to authenticate an OAuth2 account, it makes a HTTP request to your authentication server. This server is responsible of respoding with a valid access token.
You can find an example authentication server implementation from examples/auth-server.js.
- You must set
useAuthServer:trueflag for the account settings and not setauthvalue - Set authentication server URL in the Settings page, the same way you set the webhook URL
- IMAP API makes HTTP request against authentication server URL with 2 extra GET params:
accountandproto, egurl?account=example&proto=imap - Authentication server must respond with a correct JSON structure for this account
Register managed account
curl -XPOST "localhost:3000/v1/account" -H "content-type: application/json" -d '{
    "account": "ouath-user",
    "name": "Example",
    "imap": {
        "host": "imap.gmail.com",
        "port": 993,
        "secure": true,
        "useAuthServer": true
    },
    "smtp": {
        "host": "smtp.gmail.com",
        "port": 465,
        "secure": true,
        "useAuthServer": true
    }
}'
Auth server response for OAuth2 accounts:
{
    "user": "[email protected]",
    "accessToken": "jhdfgsjfmbsdmg"
}
Auth server response for password based accounts:
{
    "user": "[email protected]",
    "pass": "verysecret"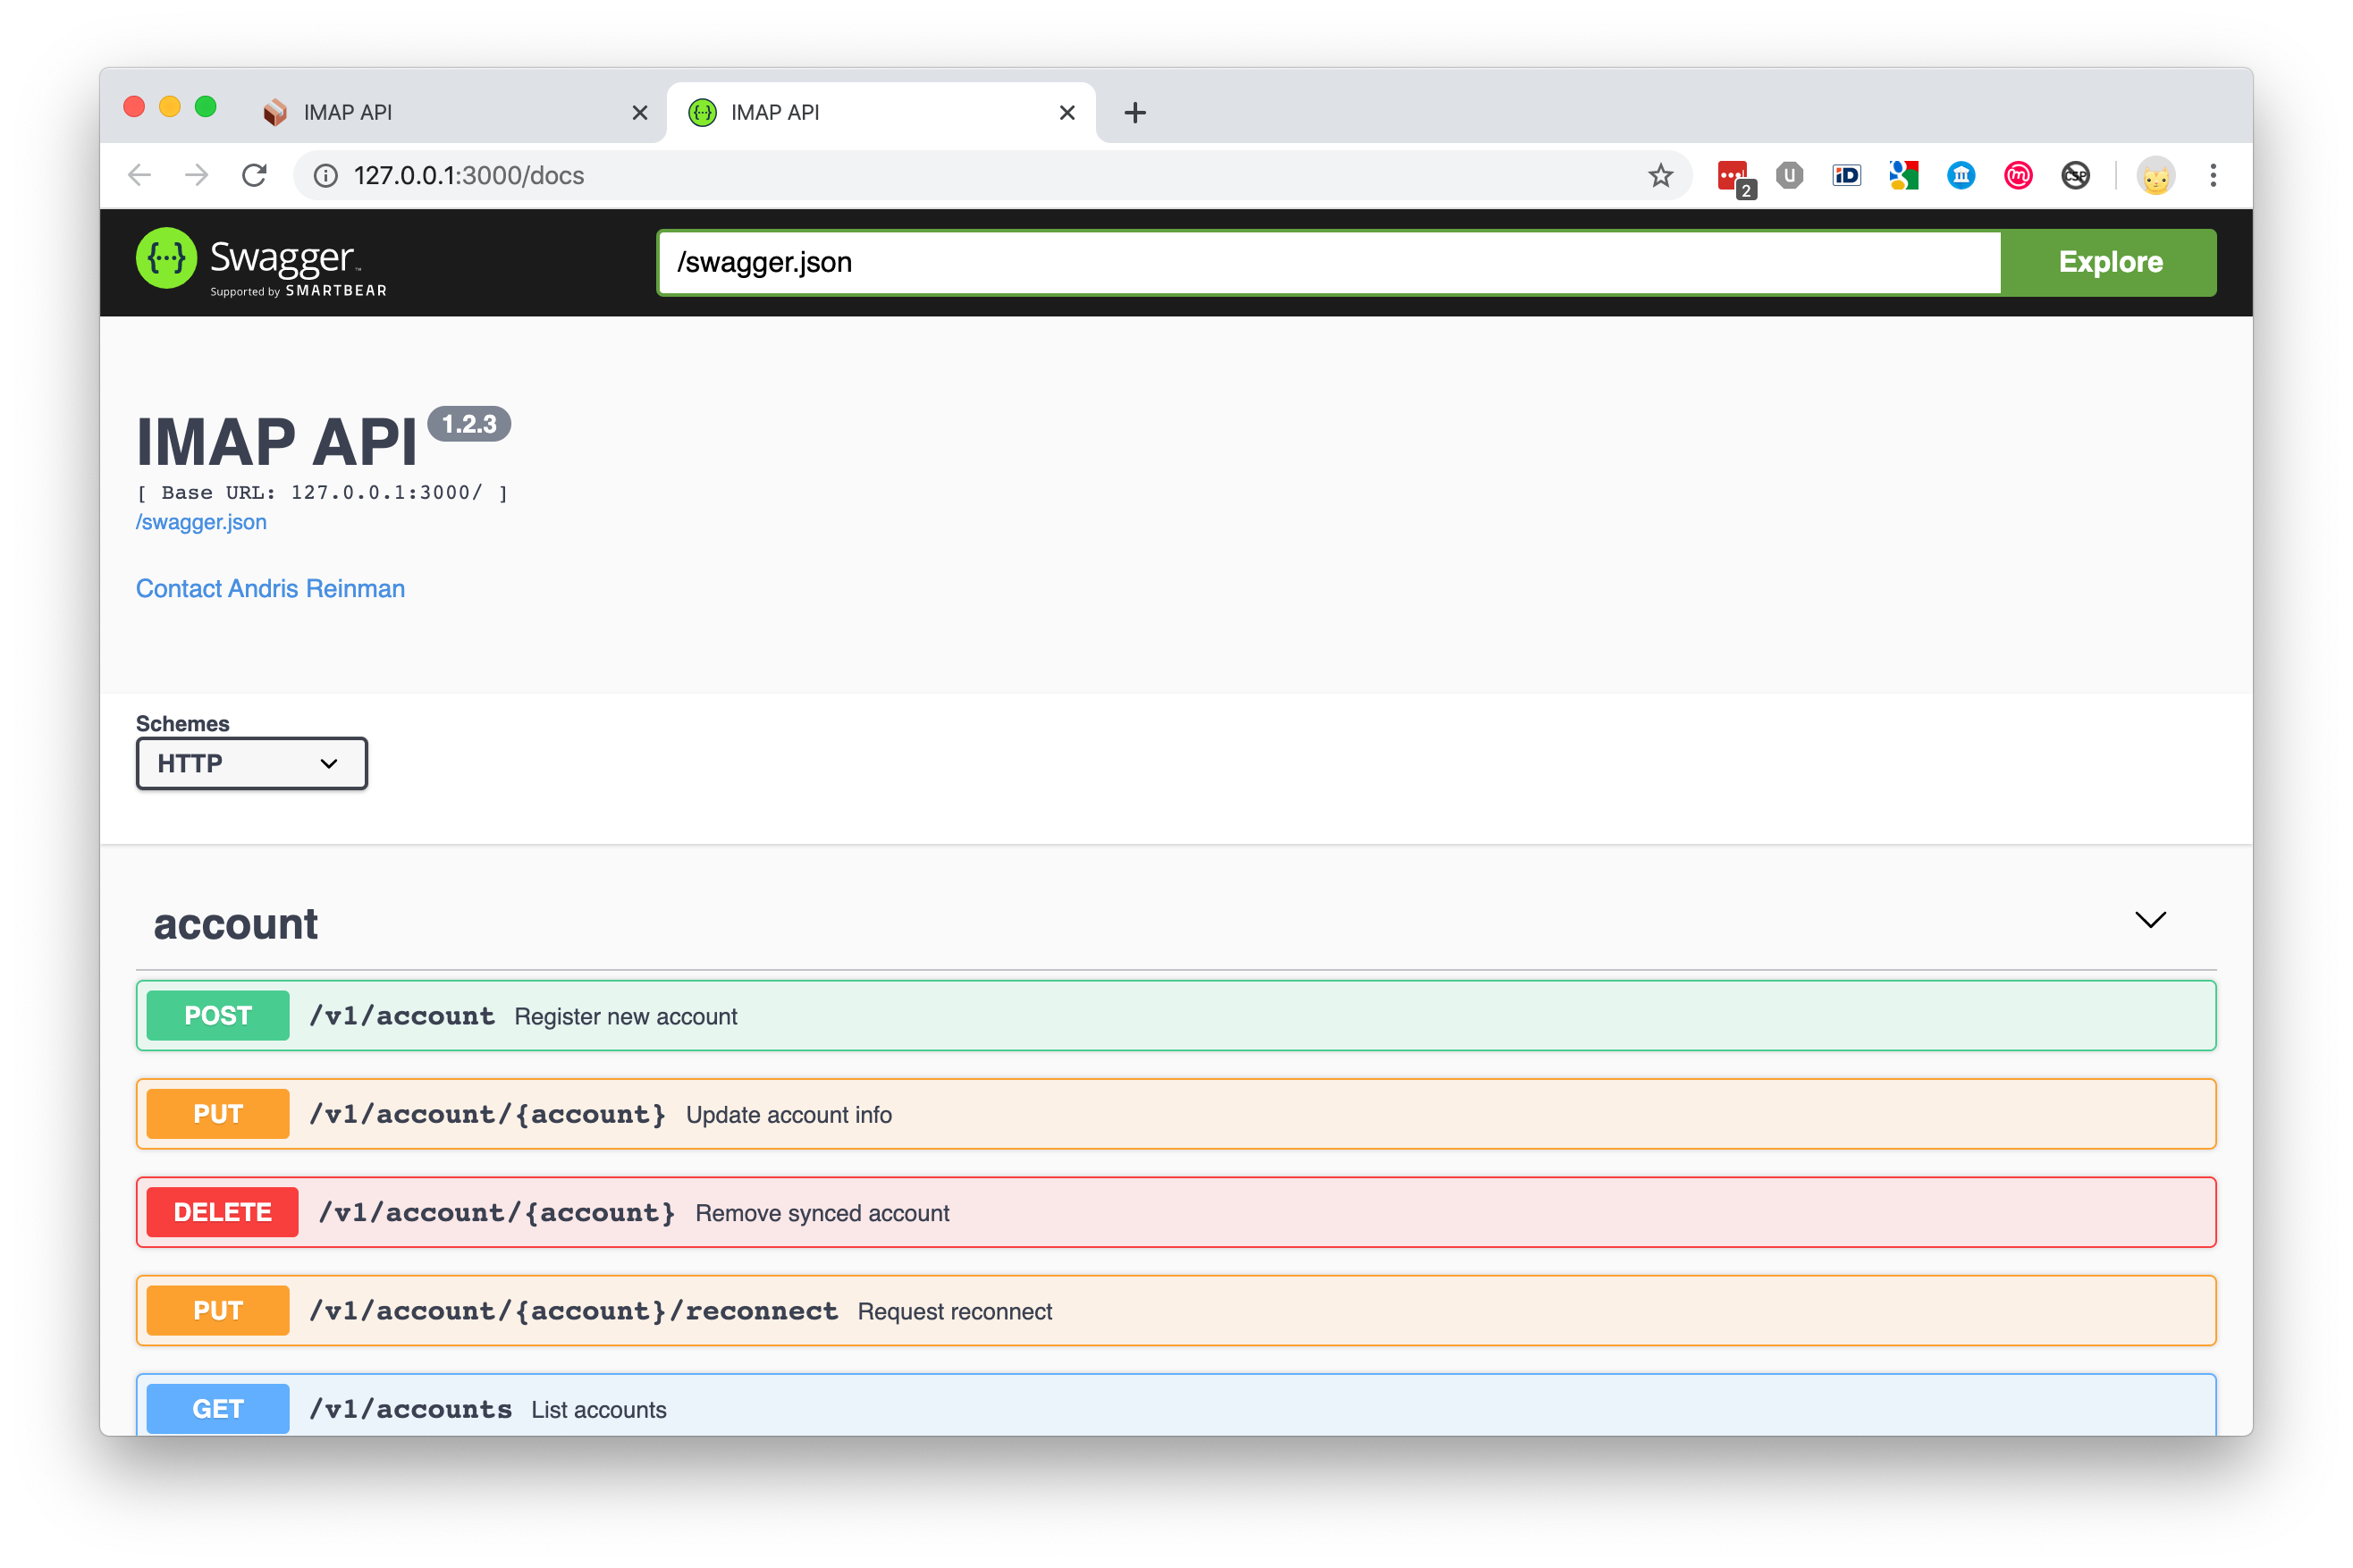
}Entire API descripion is available in the application as a swagger page.
There is a Prometheus output available at /metrics URL path of the app.
There is no authentication?
That's right. The app itself (both web UI and API endpoints) does not implement any kind of authentication or ACL. Idea being that IMAP API only only handles IMAP access and everything else is left to the user as every system is different.
By default IMAP API allows connections only from localhost. To change this either edit config file or use --api.host="0.0.0.0" cli option. This would enable outside access, so you should use firewall to only allow your own app to access it. For web UI the suggestion is to use Nginx or Apache proxy with HTTP Basic Authentication, probably for VPN addresses only.
See example systemd unit file ro run IMAP API as a service and example Nginx config file to serve IMAP API requests behind Nginx reverse proxy.
Licensed under GNU Affero General Public License v3.0 or later.
MIT-licensed version of IMAP API is available for Postal Systems subscribers.