Multi-module distance monitor utilising HC-SR04 sonar modules, Arduino, RaspberryPi, MQTT, and Node-RED
This project allows remote monitoring of one or more HC-SR04 sonar modules.
The modules plug into an Arduino, the Arduino is controlled by a Raspberry Pi, and the Raspberry Pi sends the data to a NodeRed dashboard via the MQTT protocol.
- How to set up a Raspberry Pi
- How to wire up Arduino pins and upload code via the IDE.
- How to install Python3 and run a script.
- How to install Node-RED and import a flow
- Basic familiarity of the Firmata controller protocol.
- Basic familiarity of the MQTT messaging protocol.
This project as it's currently configured requires the following:
- Raspberry Pi (3B or better)
- Arduino (MEGA2560 used but any modern board will probably work)
- One or more HC-SR04 sonar modules (project uses 4)
This project uses the following software / libraries:
- FirmataExpress - Accepts control commands via USB
- Python3 - Runs the script
- pymata4 - Sends control commands to the Arduino via USB
- paho-mqtt - Sends readings via MQTT
- Mosquitto MQTT Broker - Receives readings sent via MQTT and allow other devices to subscribe to those readings
- Node-RED - Displays readings received via MQTT on a dashboard
Wire the HC-SR04 modules to the Arduino as follows:
red: 5v power - powers the module
black: ground - completes the circuit
green: trigger - receives read command from Arduino
yellow: echo - sends distance signal to Arduino
You may use whichever pins on the Arduino you like, just make sure you update the script as required.
.png)
The easiest way is to use the official Arduino IDE
- Go to
Tools > Manage Librariesto download and install the FirmataExpress library - Go to
File > Examples > FirmataExpress > FirmataExpressto open the FirmataExpress code. - Upload onto the Arduino
- Set up the Pi with the latest Raspberry Pi OS
- Update Pi and install dependencies
$ sudo apt update && sudo apt -y dist-upgrade $ sudo apt install python3 - Connect Raspberry Pi to the Arduino with a USB cable (any port is fine)
Either clone or download this repo and move the distance_monitor directory containing distance_monitor.py into a
directory of your choice.
For this example we'll be using /opt/distance_monitor. Note you'll need to use sudo to move files into /opt.
-
Copy scrip directory to /opt:
$ cd ~/distance_monitor-main  # or wherever you downloaded this repo
$ sudo cp distance_monitor/ /opt
-
Check files were moved correctly
$ ls /opt/distance_monitor
You should see the following files listed:
distance_monitor.py
requirements.txt
Do the next steps once you've finished step 7 and installed an MQTT broker
-
Open
distance_monitor.pywith your favourite editor$ nano /opt/distance_monitor/distance_monitor.py
-
Replace
mqtt-brokerwith the url of your mqtt broker. No need to include the port.MQTT_BROKER = '<mqtt-broker-ip-address>'
-
Create and activate virtual environment (optional but recommended)
$ cd /opt/distance_monitor
$ python3 -m venv venv
$ source venv/bin/activate
-
Use pip to install dependencies listed in requirements.txt
$ pip3 install -r requirements.txt
The code can now be run via this command (if you get USB permission issues run as sudo):
$ /opt/distance_monitor/venv/bin/python3 /opt/distance_monitor/distance_monitor.pyCMD + C will stop the programme
If you're happy to run this script manually or have some other way to running it you can skip this step.
This example assumes you'll be running the script as root, but your needs may vary.
-
Copy distance_monitor.service to the systemd directory
$ cd ~/distance_monitor-main  # or wherever you downloaded this repo
$ sudo cp raspberrypi/distance_monitor.service /etc/systemd/system/
-
Ensure Python and script paths are correct
$ sudo nano /etc/systemd/system/distance_monitor.service
-
Check that ExecStart and WorkingDirectory point to the right files. Change these to match wherever you put the script.
[Service]
ExecStart=/opt/distance_monitor/venv/bin/python3 /opt/distance_monitor/distance_monitor.py
WorkingDirectory=/opt/distance_monitor/
-
Save the file with
CMD + Oand close the editor withCMD + X -
Reload the daemon to ensure systemd sees the new file
$ sudo systemctl daemon-reload
-
Set the service to run at boot
$ sudo systemctl enable distance_monitor -
Check service was enabled successfully
$ sudo systemctl status distance_monitor
Second line should read something like:
Loaded: loaded (/etc/systemd/system/distance_monitor.service; enabled; vendor preset: enabled)
-
Start the service manually (optional)
$ sudo systemctl start distance_monitor
Head to the mosquitto download page and follow the instructions relevant to the OS you'll be using.
If you're installing both mosquitto and Node-RED on the Raspberry Pi, you can skip the next steps.
If you're using a separate machine, you'll need to configure mosquitto to allow remote connections as by default it only works locally.
- Create and open a new mosquitto config file
$ sudo nano /etc/mosquitto/conf.d/custom.conf
- Add the following text to the file.
Save & close with
allow_anonymous true listener 1883CMD + OandCMD + X
Note this opens up the mosquitto service to all machines connected to the network and has no security or authentication enabled. Steps for securing mosquitto are available but are outside the scope of this guide.
Head to the Node-RED getting started page and follow the instructions. If you're installing onto the Raspberry Pi or another Debian / Ubuntu machine then you can follow the Raspberry Pi section.
-
Install dependencies
$ sudo apt install curl
-
Run Node-RED install script
$ bash <(curl -sL https://raw.githubusercontent.com/node-red/linux-installers/master/deb/update-nodejs-and-nodered)If the install was successful you should get an
All donemessage on the screen and be provided with some options on how to start the Node-RED programme. Easiest is just to enternode-red-startin the terminal. -
Run Node-RED as a service on startup (optional)
If you want to set Node-RED to run every time the machine boots up, just do the following.$ sudo systemctl enable nodered.service
-
Start Node-RED however you prefer
-
In a web browser enter
http://localhost:1880if accessing locally orhttp://<ip-address>:1880if accessing remotely. -
Install the
node-red-dashboardnode module to your palette using the guide on the Node-RED website.
The easiest way is via theManage Palletoption in the main menu of the Palette Manager.
-
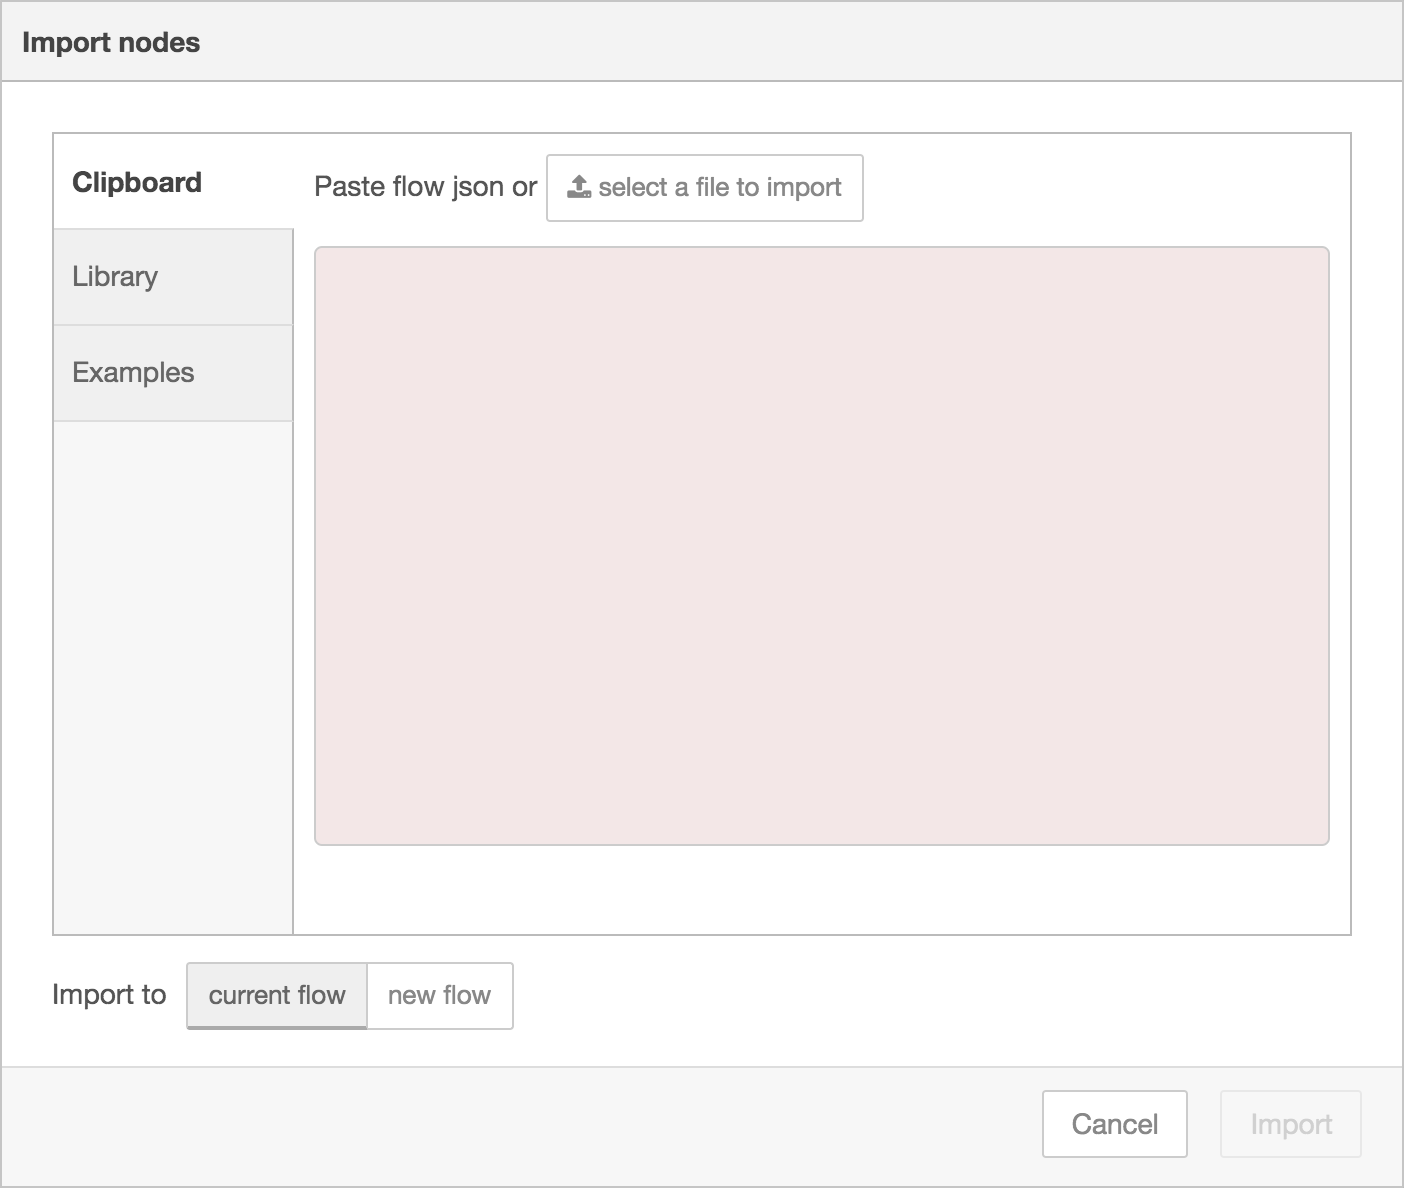
Open the
Import nodesdialogue in the main menu, pressselect a file to import.
-
Navigate to
~/distance_monitor-main/node_red/mqtt_dashboard.json, selectOpen, thenImport. A new editor tab namedmqtt distance dashboardshould appear at the top. -
Double-click each mqtt input node and enter the correct address for the mqtt broker. If you're running everything on the same machine this will be
localhost:1833, otherwise it will be<ip-address>:1833. If successful you'll see a green square and aconnectedmessage beneath each mqtt input node.

-
Press the red
Deploybutton to save changes. -
In a new browser window enter
http://localhost:1880/uiif accessing locally orhttp://<ip-address>:1880/uiif accessing remotely to open the dashboard.


The options are limitless!
Check out Node-RED's documentation for some guided help.