This example demonstrates how you can use kubeflow end-to-end to train and
serve a distributed Pytorch model on a kubernetes cluster in GCP. This
tutorial is based upon the below projects:
- DDP training CPU and GPU in Pytorch-operator example
- Google Codelabs - "Introduction to Kubeflow on Google Kubernetes Engine"
- IBM FfDL - PyTorch MNIST Classifier
There are two primary goals for this tutorial:
- Demonstrate an End-to-End kubeflow example
- Present an End-to-End Pytorch model
By the end of this tutorial, you should learn how to:
- Setup a Kubeflow cluster on a new Kubernetes deployment
- Spawn up a shared-persistent storage across the cluster to store models
- Train a distributed model using Pytorch and GPUs on the cluster
- Serve the model using Seldon Core
- Query the model from a simple front-end application
This tutorial trains a TensorFlow model on the MNIST dataset, which is the hello world for machine learning.
The MNIST dataset contains a large number of images of hand-written digits in the range 0 to 9, as well as the labels identifying the digit in each image.
After training, the model classifies incoming images into 10 categories (0 to 9) based on what it’s learned about handwritten images. In other words, you send an image to the model, and the model does its best to identify the digit shown in the image.
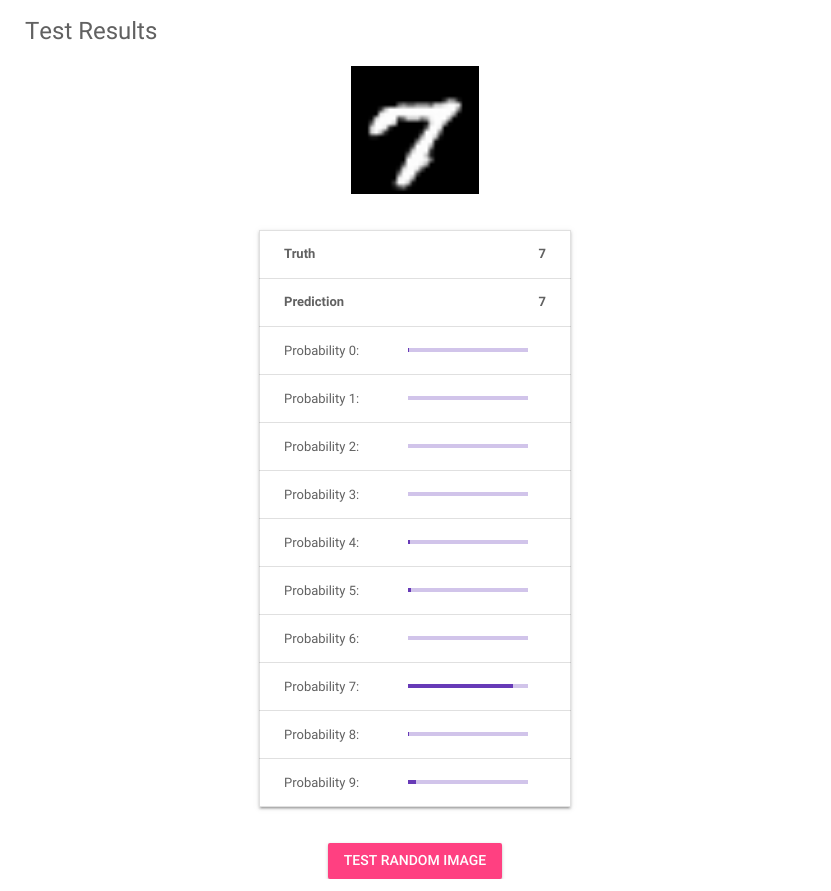
In the above screenshot, the image shows a hand-written 7. The table below the image shows a bar graph for each classification label from 0 to 9. Each bar represents the probability that the image matches the respective label. Looks like it’s pretty confident this one is an 7!