Create a SP list with the following name: Leave Request
| Column Name | Column Type | Comments |
|---|---|---|
| Title | Single line of Text | This will be the default column that gets created in a SharePoint list |
| Detail | Multiple Lines of Text | |
| From | Date and Time | |
| To | Date and Time | |
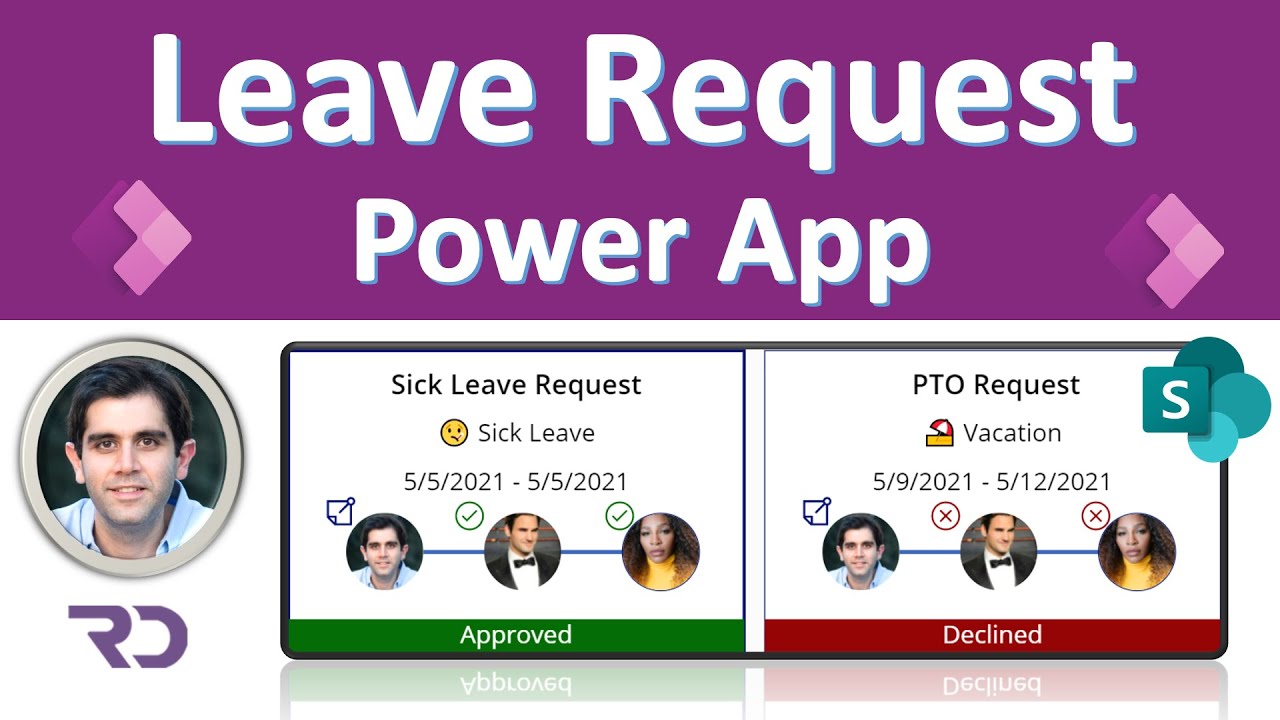
| Leave Type | Choice | Choice values: ⛱️ Vacation 🤒 Sick Leave 🎈 Floating Holiday ⚖️ Jury Duty 💔 Bereavement |
| Status | Choice | Choice values: Declined Approved Pending Manager Approval Pending HR Approval |
| Manager | Person or Group | |
| HR | Person or Group | |
| Approval Comments | Multiple Lines of Text | |
| Approval Link | Single Line of Text |
Import App zip file in Power Apps.
Imported zip file will contain both the App & the flow.
Edit the App.
On App OnStart function, Set the HR Admin details as follows: Set(HRManagerEmail, "place email of HR Admin here")
Remove the SharePoint data source from the App & add a new SharePoint data source connection with your newly created “Leave Request” list.
Go to flow.microsoft.com
Turn on the “Leave Request Approval Process flow”
Edit the flow and update the SiteURL action to point to your SharePoint site where the new “Leave Request” list has been created.